In today’s fast-paced world, finding what you need — exactly when you need it — should be effortless. That’s where Around2Me comes in. Whether you're navigating a new city, running errands, or just looking for a bite nearby, Around2Me helps you instantly find nearby essentials like ATMs, restaurants, hospitals, gas stations , and much more. Around2Me 🚀 What Makes Around2Me Different? Unlike many location-based apps that are bloated with unnecessary features or force users to sign up, Around2Me is lightweight, private, and instant . Here's how: 📍 Location-Based Discovery The app instantly detects your current location and shows you relevant nearby places — from pharmacies to petrol pumps, cafes to banks. 🗺️ Map Integration Tap any place to view it on the map and get turn-by-turn directions in seconds. 🧩 Clean Categories Looking for something specific? Use quick-access filters like Hospitals , ATMs , Coffee Shops , or Parking . 🔐 No Signups, No Data Collection ...
Gets Easier & Fastest growing Payment Solution, Accepting International Payments with Razorpay
Most of the developers prefer Razorpay as the international payments solution with supported Multi-currency support and reduced chargebacks in India. It is robust and provides developer friendly API & SDK for Android, iOS etc. It provides different modes of payments like :- credit card, debit card, net banking, UPI and other popular wallets. It provide the fast and reliable support.
In this blog we are going to focus on Razor Pay integration with iOS swift 4.2 using Xcode 11. in which we will learn how can we integrate Razorpay with iOS app. We will create a demo app to integrate Razorpay and pay some amount by using Razorpay payment gateway.
- xcode 11
- Swift 4.2
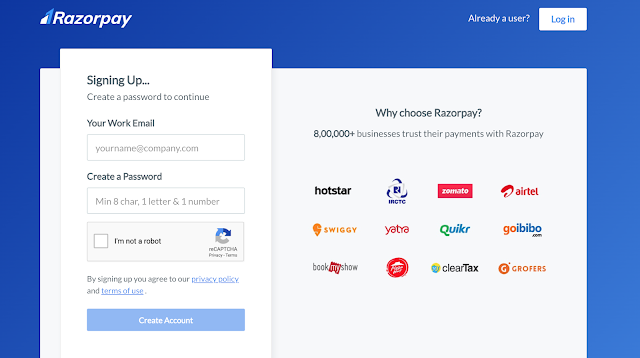
- A Razorpay account (you can signup from here https://dashboard.Razorpay.com/#/access/signup)
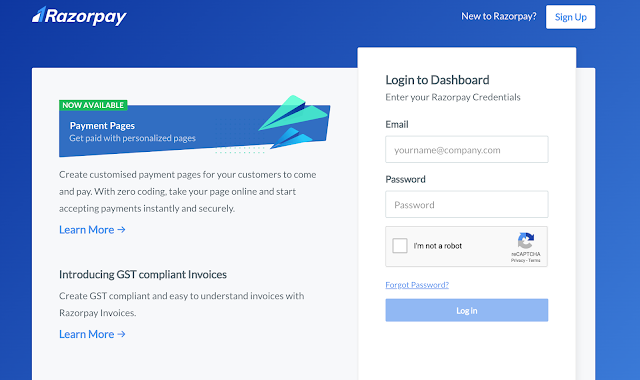
- your Razorpay key id (you can get from here https://dashboard.Razorpay.com/#/app/keys)
Development in Xcode
1. Open Terminal then go to project base.
2. open podfile
3. edit podfile add - pod ‘Razorpay-pod’
# Uncomment the next line to define a global platform for your project
# platform :ios, '9.0'
target 'WithMe' do
# Comment the next line if you don't want to use dynamic frameworks
use_frameworks!
# Pods for WithMe
pod 'razorpay-pod'
target 'WithMeTests' do
inherit! :search_paths
# Pods for testing
end
target 'WithMeUITests' do
# Pods for testing
end
end
4. Then pod Install
5 Reopen Project in xcode.
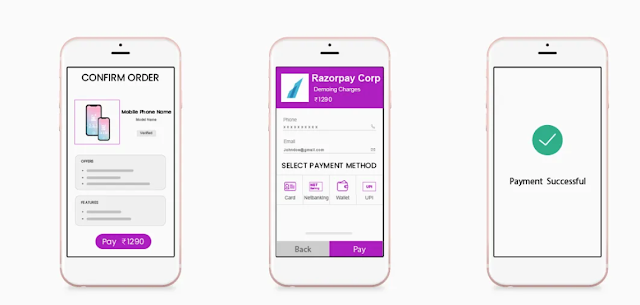
Develope a basic UI as given below.
import Razorpay
class ViewController: UIViewController{
// Razorpay
var braintreeClient: BTAPIClient?
var razoepay: RazorpayCheckout!
override func viewDidLoad() {
super.viewDidLoad()
razoepay = RazorpayCheckout.initWithKey("rzp_test_FtNotNSVCQRKJU", andDelegate: self)
}
@IBAction func checkOut(_ sender: Any) {
let options: [String:Any] = [
"amount" : "1000", //mandatory in paise like:- 1000 paise == 10 rs
"currency": "INR",
"description": "purchase description",
"image": "logo",
"name": "Swift Series",
"prefill": [
"contact": "9797979797",
"email": "foo@bar.com"
],
"theme": [
"color": "#528FF0"
]
]
razoepay?.open(options)
}
}
extension ViewController: RazorpayPaymentCompletionProtocol {
func onPaymentSuccess(_ payment_id: String) {
let alert = UIAlertController(title: "Paid", message: "Payment Success", preferredStyle: .alert)
let action = UIAlertAction(title: "OK", style: .cancel, handler: nil)
alert.addAction(action)
self.present(alert, animated: true, completion: nil)
}
func onPaymentError(_ code: Int32, description str: String) {
let alert = UIAlertController(title: "Error", message: "\(code)\n\(str)", preferredStyle: .alert)
let action = UIAlertAction(title: "OK", style: .cancel, handler: nil)
alert.addAction(action)
self.present(alert, animated: true, completion: nil)
}
}
Output. Like


nice
ReplyDeleteVery informative post...!
ReplyDeleteRazorpay Payment Integration In iOS Swift
5 Best Benefits to Hire iOS Developers for Your App Development Project
Hire iOS Developers